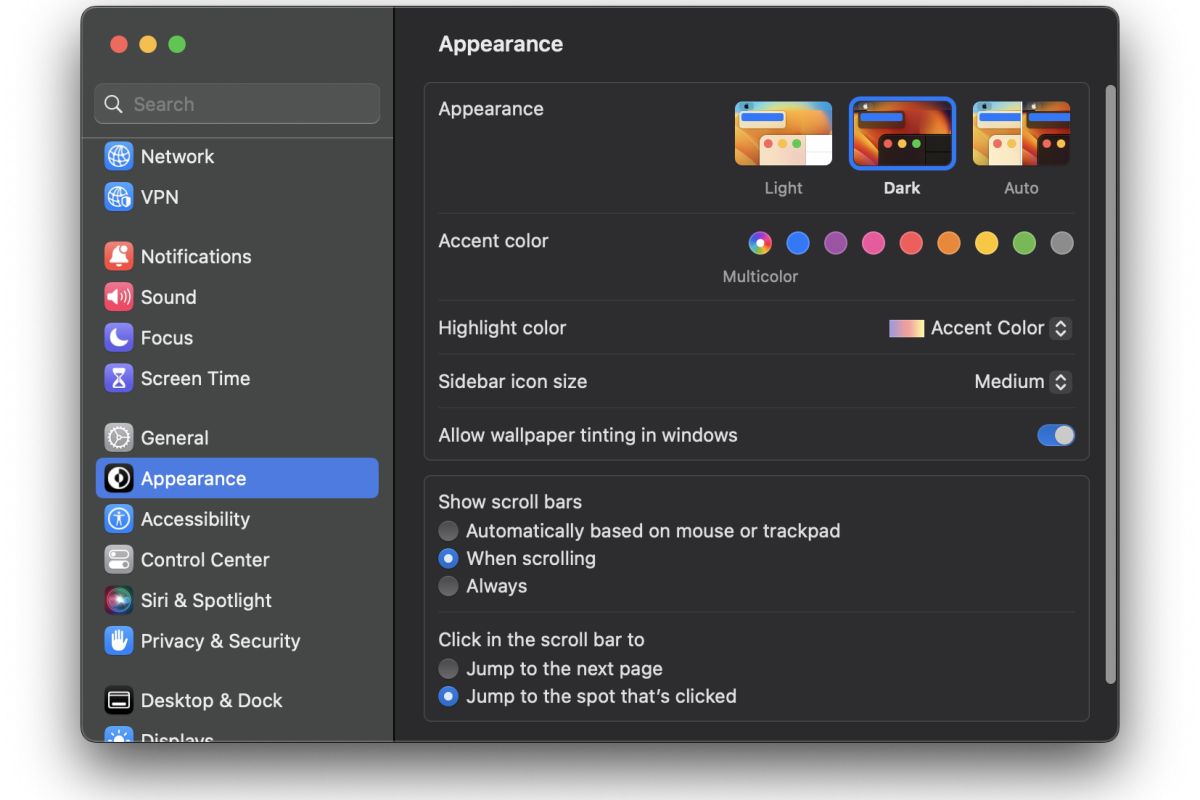
Scroll bars on a Mac can sometimes take up valuable screen space and may be visually distracting. If you use a mouse with your Mac, you might find it more efficient and aesthetically pleasing to hide the scroll bars. In this article, we will guide you through the steps to hide scroll bars on your Mac when connected to a mouse.
Hiding Scroll Bars on Mac:
Step 1: Access System Preferences Click on the Apple menu in the top-left corner of your screen and select “System Preferences” from the drop-down menu.
Step 2: Open General Preferences In the System Preferences window, locate and click on the “General” icon. It is represented by a blue gearwheel.
Step 3: Customize Scroll Bar Settings Within the General preferences, you will find various options related to your Mac’s appearance and behavior. Look for the “Show scroll bars” section and click on the dropdown menu next to it.
Step 4: Choose Scroll Bar Visibility To hide the scroll bars when connected to a mouse, select the “Automatically based on mouse or trackpad” option. This setting ensures that the scroll bars will only appear when you are using the trackpad or Magic Mouse.

Step 5: Close System Preferences After selecting the desired scroll bar visibility option, close the System Preferences window. The changes you made will be applied immediately.
